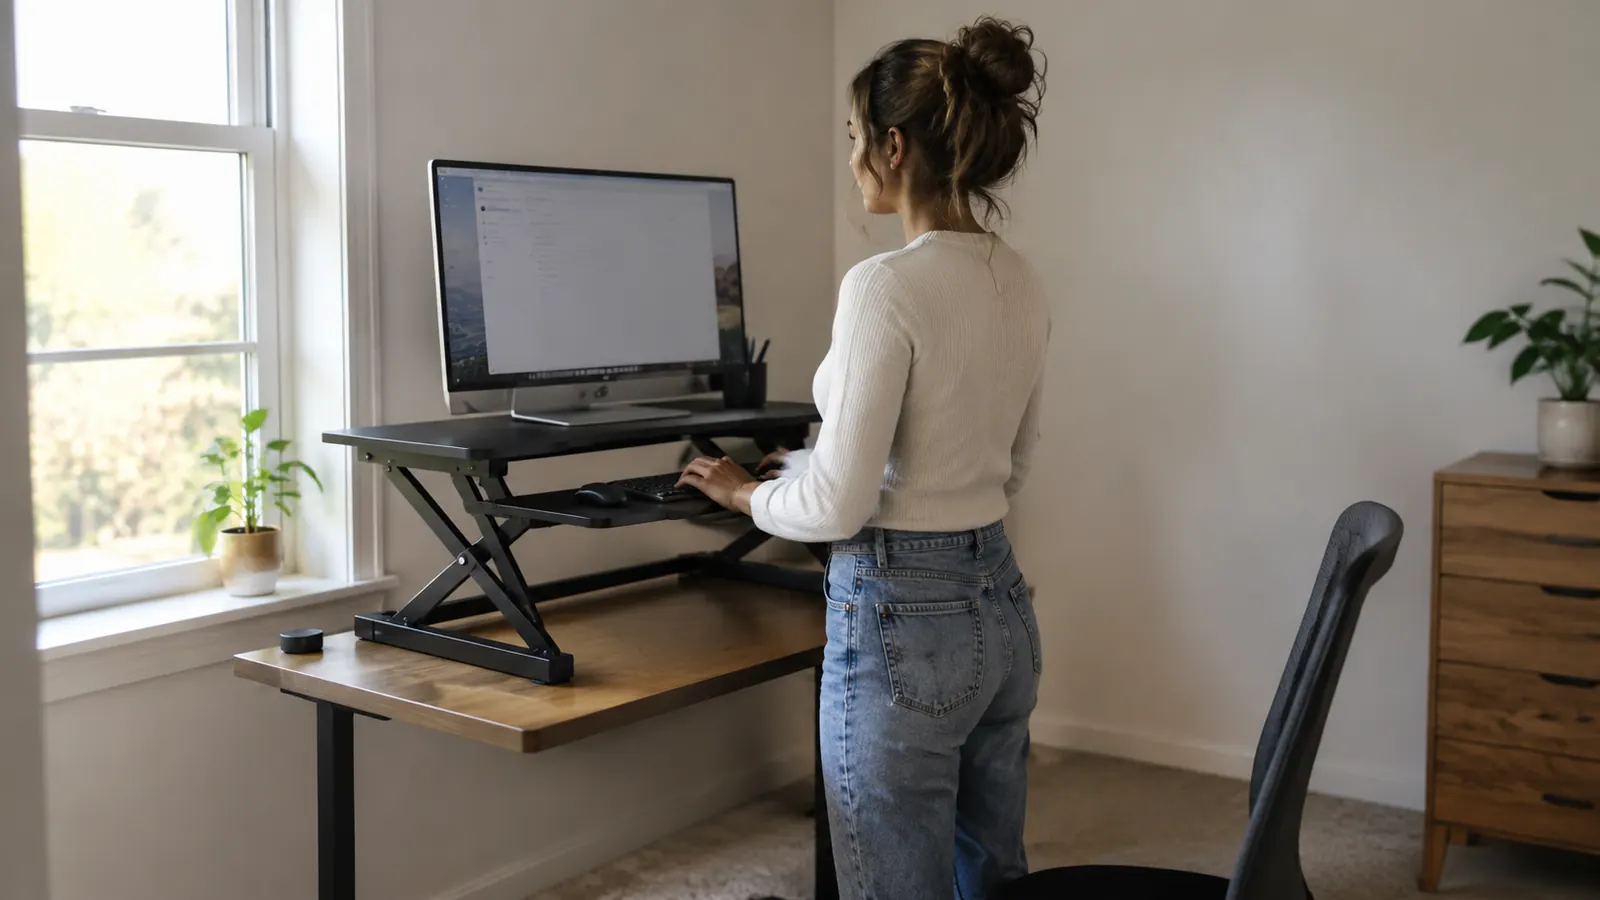
I put off the standing-desk question for more than a year. Not because I loved sitting all day. My lower back has been a problem since a car accident in 2015, and by the time I started working full days from my home office in 2019, I could feel the extra hours of sitting in my shoulders by midweek. But every real solution I looked at seemed to start with buying a new desk, and my desk is solid and fits the room. I did not want to lose it just to stand for part of the afternoon. I finally got the standing option without replacing anything, using a desk converter that sits on top of my current desk, the VIVO 36 inch converter, model DESK-V036KB. It has been on that desk for seven months, and I use it almost every workday.
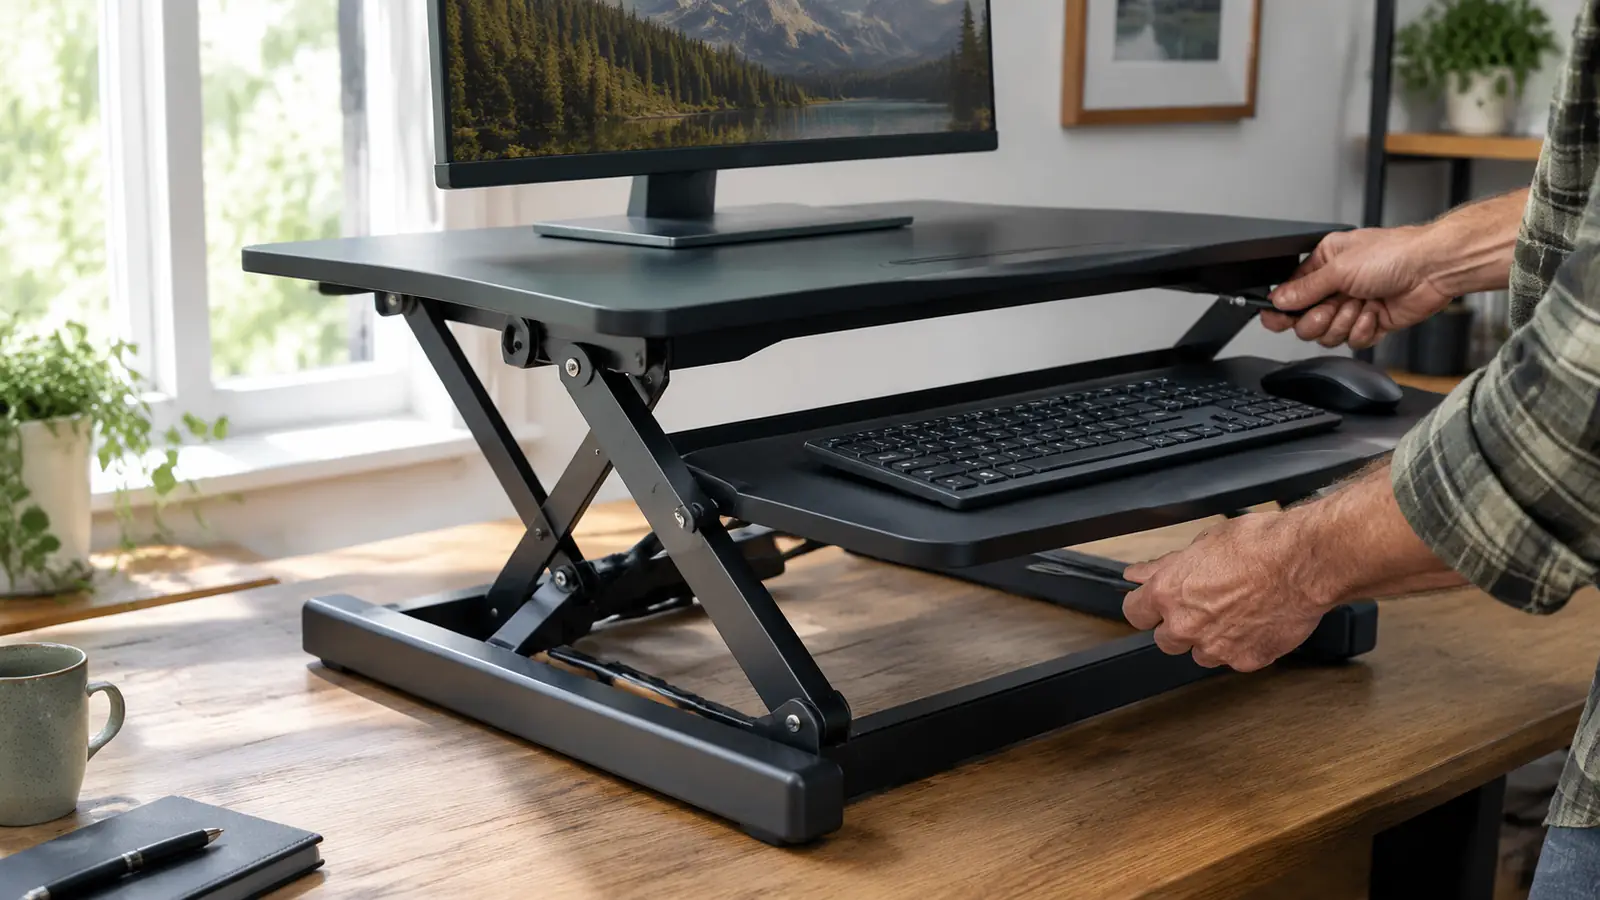
Quick note on what a converter is, because the name gets used loosely. It is not a new desk and it is not a full sit-stand frame that replaces the legs of your current desk. It rests on the desktop you already have. When you want to stand, you raise the monitor and keyboard together until they lock at a comfortable height. When you want to sit back down, you lower them. The desk underneath never moves. That simplicity is exactly why a converter made sense here. It also means the setup only works if you set it up thoughtfully, which is what the steps below cover.
Keep the desk you own. Add VIVO on top.
The VIVO 36 inch converter (DESK-V036KB) adds sit-stand height to the desk you already own, without a new frame or a bigger room. It holds my monitor and keyboard on one platform, and at seven months mine still raises and lowers smoothly. Measure first using the steps above, then confirm today's price on Amazon.
Amazon Check Today's Price on Amazon →The steps below are the ones I wish I had followed before the first week of fiddling around. A converter looks like a simple product, and it is, but small fit mistakes, a too-short cable, a tray at the wrong height, are what make people shove it under the desk and forget it.
Step 1: Measure Your Desk Before You Buy
Start with a tape measure, not with the product page. Measure the depth of your desktop, the width of the clear space where the converter will sit, and the height of anything above the desk that could get in the way. The converter base has to fit without hanging off the front edge, and you need a few inches of desktop left in front of the base so your wrists have somewhere to rest while you type. My desk sits against the long wall of a small converted bedroom, about 10 by 11 feet, with a north-facing window on the left. The depth was the number that mattered: the base of my converter leaves just enough room for my forearms, and I would have been crowded if the desk had been two inches shallower. The tape measure also stopped me from ordering a bigger model than I needed. One popular converter has a deeper base and a long list of glowing reviews, but it would have overhung my desktop by a full inch. Measuring first saved me a return, and now I skip any listing that does not state a minimum desktop depth.
The overhead clearance is the step people miss. A converter raises your monitor by as much as a foot or more, depending on the model, and a low shelf, a window frame, or a wall cabinet can stop the platform before it reaches standing height. My monitor clears the bottom of my window frame, but not by much. I measured the window frame the same day I ordered, and the clearance came out to about three inches at full height. Three inches is enough, but I would not want less.
Sit in your chair while you have the tape measure out, and measure from the floor to the bottom of your forearm. That is the height your keyboard needs to sit at, and it is the number you will chase during setup ten minutes after the box arrives. Write it down next to the desk depth. When you compare models later, you will be comparing numbers that matter for your body, not just for your room.
Step 2: Match the Size to Your Monitor and Keyboard
Once the desk measurements work, look at what the converter has to carry. Most converters state a weight limit for the top platform and an approximate screen size, and both numbers are worth reading before you click order. My monitor is within the limit for the VIVO, and my laptop is light enough to sit beside the monitor on the 36 inch platform when I want a second screen during a call. If your equipment is heavy, or your monitor is very large, check the stated limit against the weight of the monitor, including its stand, because the numbers in the product listing are the only ones that matter.
Check the keyboard tray too. This is the part that gets ignored and then complained about. The tray on my converter is wide enough for a full-size keyboard and a mouse side by side, with a little room left over. If your mouse has nowhere to ride, you will end up reaching down to the fixed desk every time you stand up, and you will stand up less. When I looked at converters, I measured the width of my keyboard first and used that number to decide between a compact converter and a wider one. The width made the choice easy.
Step 3: Clear the Desktop and Give Your Cables Room to Rise
Assembly is easier, and the fit check is more honest, if the desk is empty first. Move everything off the desktop to the shelves in the closet I use for storage, so you can see the full surface and choose where the converter belongs. I placed mine slightly left of center, because the window is on the left and I wanted the monitor, when raised, to sit in the same light as it did when I worked sitting down. It sounds like a fussy detail, but light from the side instead of front makes a difference to how often I glance at the screen. The overhead light in that room is harsh and I rarely turn it on, so the window does the work, and the setup had to respect that.
Cables are the real project. When the platform is down, your cables reach comfortably. When you raise it, every cable that runs to the monitor goes with it, and the ones that do not extend will pull. On my first day with the converter, the monitor's power cable came up short at standing height and the plug slipped out of the power strip. I ordered a six-inch extension and kept a second one in the drawer for the day a cable finally gives out. Give every cable a little slack while you set up, and run the bundle loosely behind the converter so nothing catches when the platform moves.
Do not let cables rest against the lifting mechanism. It only takes one pinch to damage a cable, so keep the bundle on one side and watch it while you raise and lower the platform the first few times.

Step 4: Assemble It on the Desk and Set Your Two Heights
Assemble it on the desktop, not on the floor. You will lift the unit only once into its final spot, and you will catch fit problems before cables are everywhere. Assembly took me about twenty minutes with the small tool that came in the box; my only advice is to read the instructions in order, because the screws and washers look similar until they are in your hand.
Set the sitting height first. Sit with your feet flat on the floor, adjust the keyboard tray until your wrists are straight and your elbows hang close to your body, then raise the monitor platform until the top of the screen sits around eye level. Exact degrees do not matter as much as comfort, and I am not a physiotherapist, so I will not pretend to give anyone medical advice. The point is to test the position for a few minutes before you commit. Then raise the platform to standing height and do the same check standing up. This is the moment to confirm the monitor still clears the window frame and that you are not leaning forward to reach the keyboard.
I also had to change one old habit. I used to roll my chair right up under the desktop before typing. With a converter, the armrest of my chair clears the tray only if I sit at the right distance from the desk, so I trained myself to pull the chair in first and then set the platform. Early on, I nudged the tray with the armrest and sent the whole keyboard rattling, which is how I learned. It took a week to remember the order automatically.
Step 5: Build a Rhythm That Lasts Past Week One
The converter is only useful if you actually raise it, which is where most people fail. Do not start with a grand plan to stand for three hours every morning; you will skip it by Wednesday. Start small: stand for the first half of a video call, or stand while you answer email after lunch. The cue matters more than the duration. I stand for tasks that have a clear finish line, like marking up a client draft, so I am not watching a timer while I try to concentrate. My standing time is the shorter writing block in the afternoon, when I am editing someone else's words rather than staring at my own blank page.
The way I tried first failed for an obvious reason. I stacked books under my monitor to raise it, which fixed my neck and did nothing for my wrists, and the pile wobbled every time I typed. It convinced me that height alone was not enough, which is exactly why a converter, with the keyboard on its own tray, works where the book stack did not. If you feel like giving up on standing in the first week, lower the desk and sit for a while. A short session you repeat most days beats a long one you abandon.
If the first week feels clumsy, that is normal. A converter changes the distance from your eyes to the screen and the angle of your wrists, and your body notices small changes. I nearly gave up on day two because my keyboard tray was a touch too high and my shoulders ached by noon. Lowering the tray by one position fixed it, and by the end of the week the motion of raising and lowering felt automatic. Give yourself the full week before you decide.
What Else Helps
Three things made the converter easier to live with. First, keep a pair of supportive shoes in the office and wear them when you stand. I stand in the same running shoes I wear outside, not in socks, because the beige carpet is plush but my lower back prefers the support. Second, put your water glass on the far side of the room and set a cheap kitchen timer for twenty-five minutes. When it rings, stand, refill the glass, and stay up for the next work block. Third, if you add an anti-fatigue mat later, choose one that lies flat at the edges so it does not curl under the desk legs.
And sit when your body asks to sit. The converter is not a test of willpower. My morning writing still happens sitting down, with my feet flat and the platform at its lowest setting. Standing is what I do when concentration gets harder, usually an hour or so after lunch. Because the converter stays out of the way when lowered, I never have to choose between standing and having my desk the way I like it.
It has been on that desk for seven months, and I use it almost every workday.
Your Desk Is Already Halfway There
You do not need a new desk, or a new room, to get a few standing hours into your day. What you need is one solid converter, set up with the measurements above. The VIVO DESK-V036KB has earned its spot on my desk. Check today's price on Amazon and measure your desktop before you order.
Amazon Check Today's Price on Amazon →