Neck pain from desk work rarely comes from one dramatic mistake. It comes from the position you hold for six hours during a workday, and the largest part of that position is where your monitor sits. If your screen is sitting on the desktop, it is probably too low. You will not feel it in the first hour. You feel it at three in the afternoon, when you notice you have been leaning toward the screen, chin down, for the last hour without once deciding to do that.
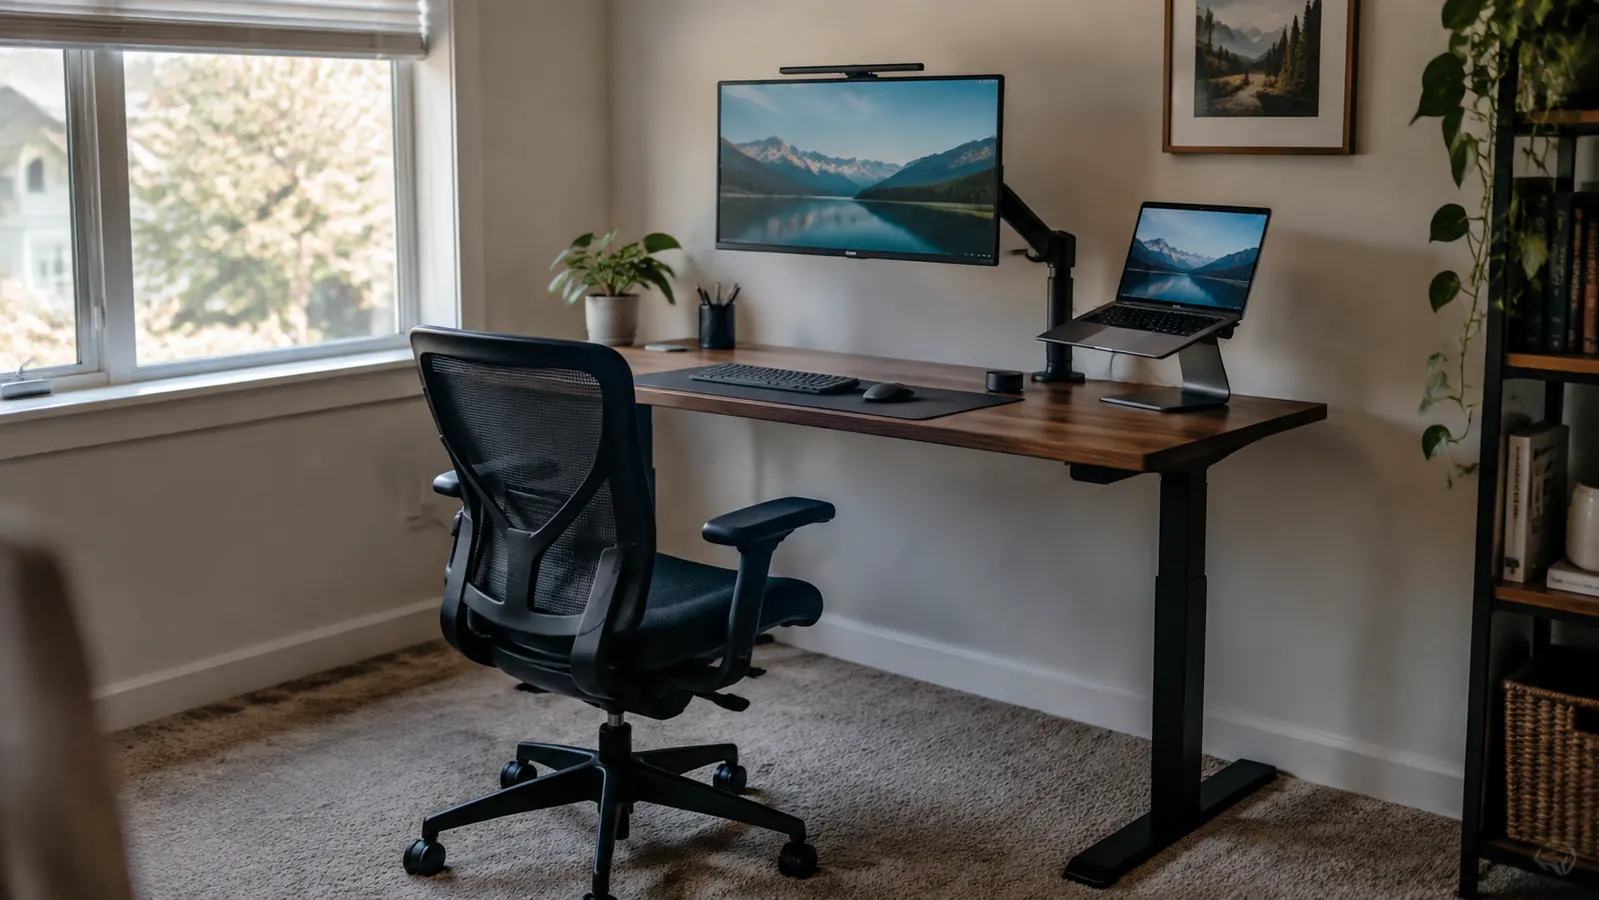
I write technical documentation, so my whole workday happens at a desk. Since 2019 that workday has happened in a small spare bedroom I turned into an office. My weak spot is my lower back, an old injury from a car accident in 2015, which is why I think about how I sit at all. But the same low screen used to give me a tired neck by late afternoon. The fix was not a different chair or more discipline. I moved my monitor off the desktop and onto a VIVO monitor arm, then set the height once, on purpose. Below is the process, step by step, including the parts I got wrong the first time.
Raise Your Screen Without Raising the Desk
The VIVO arm clamps to the back edge of a desk, supports a single regular monitor up to 32 inches or an ultrawide up to 38 inches, and holds its position once tightened. It is the arm I used for the steps below.
Amazon Check Today's Price on Amazon →How I Mounted a Monitor at the Right Height
These steps assume you are mounting one screen on an arm. The VIVO model I have clamps to the back edge of a desk, takes a regular monitor up to 32 inches, takes an ultrawide up to 38 inches, and is rated for about 22 pounds. If your screen is heavier, check the arm's capacity before you buy; the rest of these steps still apply.
Step 1: Find Your Eye Line While Sitting Naturally
Before you touch any hardware, sit in your chair the way you actually sit in the middle of a workday, not the way you sit when someone is taking your photo. Let your shoulders do whatever they normally do. Close your eyes, turn your head gently side to side a few times, let it come back to center, and then open your eyes. The spot your eyes land on is your natural straight ahead sight line. Do not sit up straighter than usual for this test; the measurement only works if it matches the posture you actually work in.
You will aim to put the top edge of the monitor at that line, not the middle of the screen. When the top edge is at your eye line, your gaze drops slightly downward to the center of the screen, which is the easiest angle for your neck to hold for hours. When the middle of the screen is at eye level, the top is above it, and you will tilt your head back to read the top of a page or a browser tab. That small backward tilt is exactly what turns into an aching neck by the end of the week.
Before you touch the hardware, gather one tool: a Phillips screwdriver. The arm ships with the small hex wrenches it needs, and you should not need power tools, but a screwdriver with a comfortable handle makes the work easier. A folded towel or old blanket is the other useful thing to have nearby, and you will see why in Step 3.
Step 2: Pick Between the C-Clamp and the Grommet Base
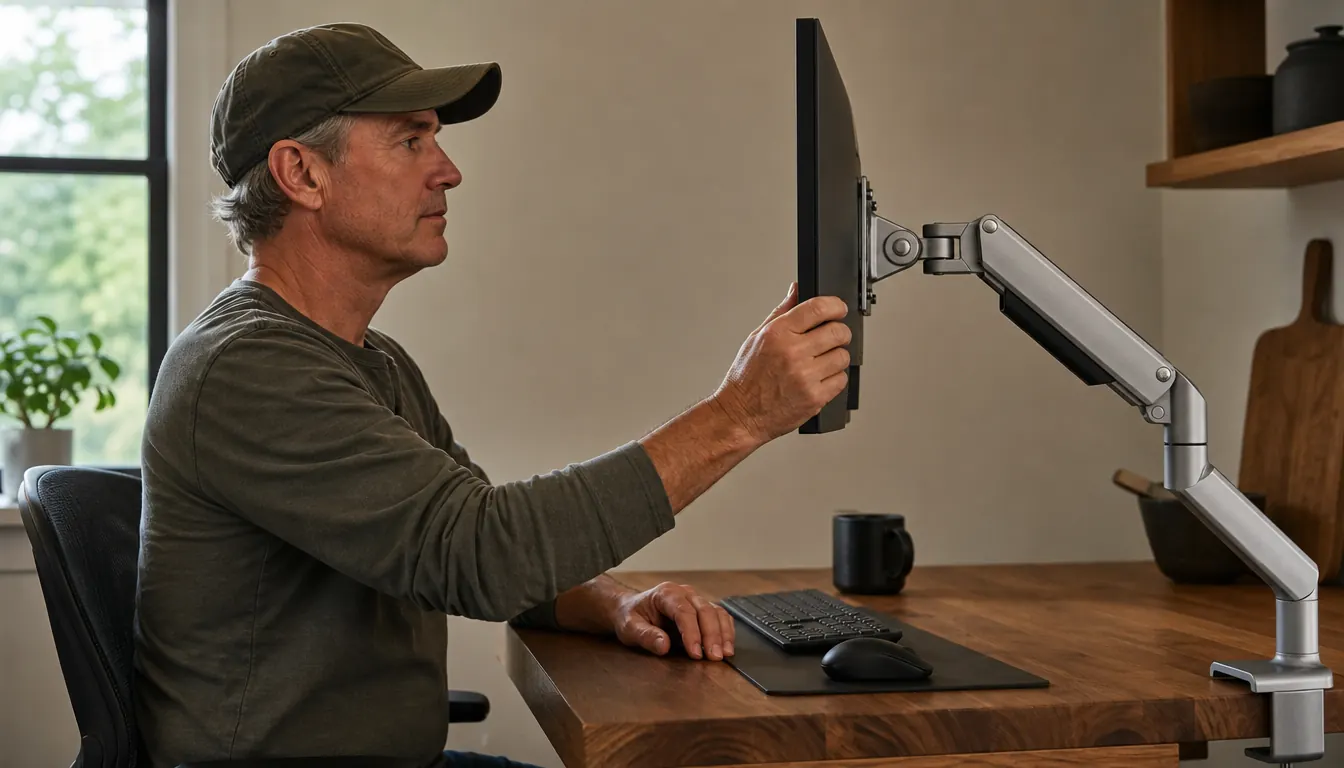
Before you open the box, look at the back edge of your desk. The VIVO arm comes with two mounting options in the box: a C-clamp and a grommet base, and they solve different problems. The C-clamp fits over the edge of the desktop and grips it from underneath, so you do not drill any holes. The grommet base is for a desk that already has a round hole, usually a cable management hole near the back, and the arm's post passes down through that hole.
Which base you use depends on the desk, not on which one looks better. If the back edge is fairly square and you can reach underneath it to turn the clamp knob, use the C-clamp. If the edge is rounded or covered with a lip that a clamp cannot grab cleanly, and you have a grommet hole, use that instead. My desk was built with its back edge against the wall, and I could still reach under it, so the C-clamp worked. No drilling, and I can move the arm a few inches sideways if I ever rearrange.
If you are not sure which base you need, try the C-clamp first. It is the faster option to test, because it does not require a hole in the desk. The clamp takes about two minutes to install and two minutes to remove, so you can confirm that your desk edge works before you commit. The only thing you need to reach is the underside of the back edge.
Step 3: Attach the Base, Then the Monitor
Place the arm's base on the desktop where you want the monitor to sit, generally directly in front of where your chair will be, with enough of the desk edge exposed for the clamp to reach. Loosen the clamp knob until the opening slides over the desk edge. Set the base in place, then reach underneath and turn the knob until the clamp's flat plate presses firmly against the underside. Stop there. The base should not wiggle when you nudge it, and the desk should not flex. If you keep turning after that point, you risk denting a soft wood desktop for no benefit.
Now prepare the monitor. Lay it face down on a clean, padded surface; a folded blanket on the floor works, because the screen should not touch anything hard. The VESA holes are the four holes in a square on the back of the monitor, usually 75 by 75 millimeters or 100 by 100. The VIVO box includes screws in several lengths. This is where I made my first mistake: I used screws that were too long, and they bottomed out before the mounting plate sat snug against the monitor. The included manual tells you which length fits which monitor. If a screw stops turning while the plate is still loose, switch to the shorter screw.
Now lift the monitor and hang it on the arm's plate. Most of these plates have two hooks at the top that seat into the bracket on the monitor, and then one or two small screws at the bottom lock it in place. If your monitor is anywhere near the arm's 22 pound capacity, get a second person to help you lift. This is not the moment to prove you can do it one handed. Once it's hanging, route the video cable along the underside of the arm and leave a little slack so the screen can move without pulling the cable loose.
Step 4: Raise the Screen to Your Eye Line and Set the Distance
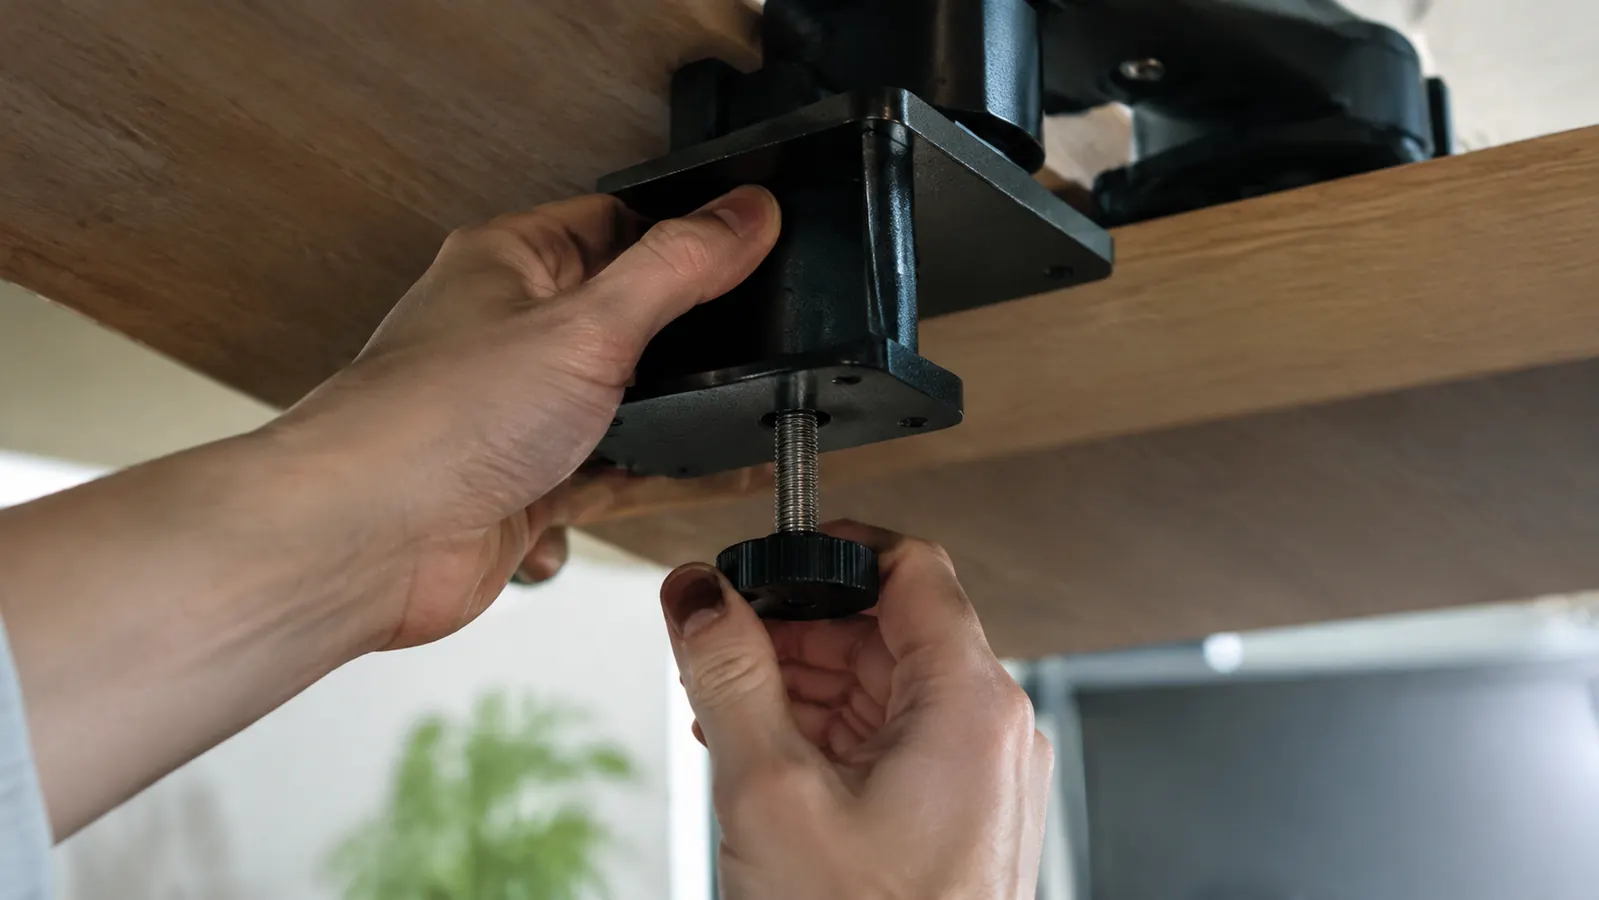
This is the step that does the actual work for your neck. With the monitor on the arm, loosen the height and tilt joints just enough that the screen moves smoothly but does not flop down. Sit back in your chair in your normal working position, and look at the screen. Raise or lower the monitor until the top edge sits exactly on the eye line you found in Step 1. Let go and look again. If you are off by an inch, nudge it; the arm is meant to make this easy. It will feel slightly unfamiliar for the first day, because your neck has been living with the old height for years.
Then set the distance. Sit back so your shoulders are against the chair, and hold out your arm. Your knuckles should just about reach the screen. For a big ultrawide you will sit a little farther back so you can see both edges without turning your head. If you find yourself leaning in to read small type, do not push the monitor closer. Enlarge the text size or raise the display scaling until you can read comfortably from your natural seated position. Leaning forward is how the whole problem starts.
The last thing to set is tilt. Tip the screen back a few degrees so its top edge is slightly farther from you than its bottom edge, which matches the way your eyes naturally rest. You rarely need more than a small angle. My desk has one window on the left, facing north, and after mounting the monitor I noticed the glass reflected in the screen. I turned the whole screen a few degrees away from the window and the reflection went away. That kind of fine adjustment is exactly what a movable arm is for.
Step 5: Live With It for a Week, Then Tune It
Do not expect a dramatic difference on day one. What you will notice, by the third or fourth afternoon, is that you stop catching yourself in a chin-down lean. That is the sign the height is right. The other likely development is that the screen has drifted slightly: the arm's joints can settle after a few days of movement, especially if you push the monitor aside to clean the desk. If the top edge has sagged below your eye line, nudge it back up and make sure the joint tension is still firm. The manual shows the small tension adjustment, which is usually a half turn of a screw inside a joint.
After the first week, your adjustments should be small ones. I lowered my monitor by about half an inch at the end of the first week because I caught myself tilting my head back just slightly to read the top of a document. That small correction is the entire point of having an adjustable arm. Once your neck knows what neutral feels like, it will tell you, in under a minute, when the screen is not where it should be. Recheck the position every few weeks, because a bumped desk, a different chair, or a changed workspace can shift your line of sight.
What Else Helps
Raising the monitor takes care of the biggest strain, but it is not the whole setup. The rest of the desk should let you sit without holding tension anywhere. Your feet should rest flat on the floor, and your forearms should be roughly level when you type, which usually means the keyboard surface is about elbow height. The keyboard should sit directly in front of the monitor, not off to one side, and you should not have to reach sideways for your mouse. Every time you twist to reach something, your neck pays a small part of that bill.
None of this is medical advice, and I am not a clinician. If your neck still hurts after your monitor has been at the right height for a couple of weeks, that is worth taking to a doctor or a physical therapist rather than ordering more desk gear. Good desk setup removes avoidable strain. It is not a treatment.
Put the top edge of the screen at your eye line, not the middle. That single measurement separates a neutral neck from a chin down afternoon.
A 30 Minute Fix for a Tired Neck
If your monitor still sits low on the desktop, you know exactly what the next workday feels like. The VIVO monitor arm is the part that makes the height adjustment possible: clamp it on, raise the screen, and set it once. It takes less than an hour.
Amazon Check Today's Price on Amazon →